

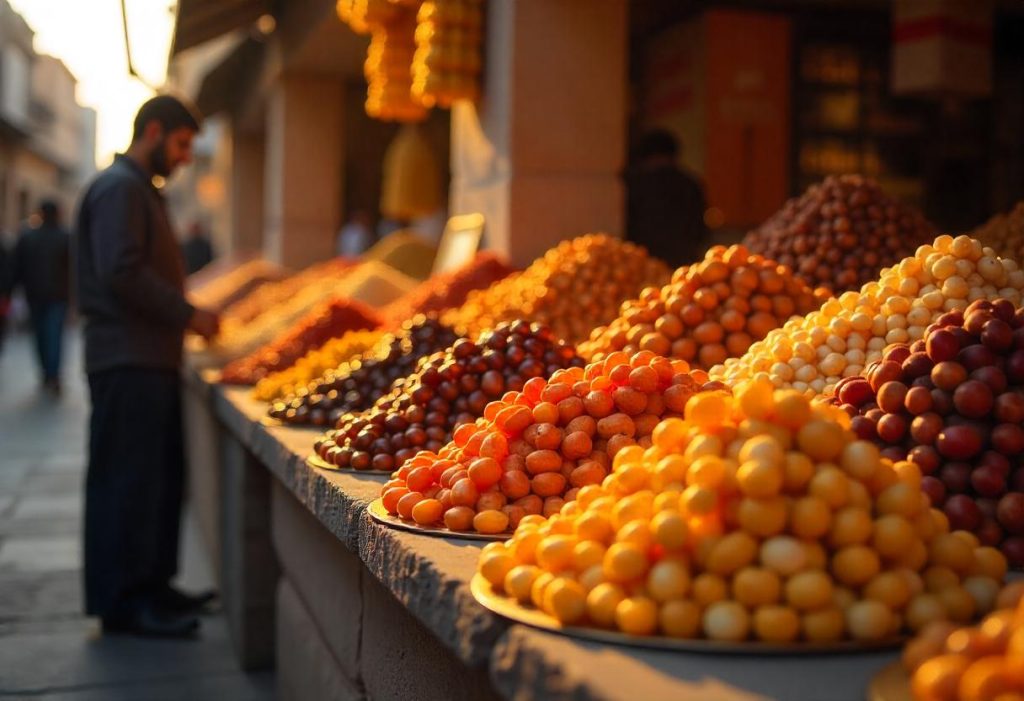
Drying fruit is one of the oldest methods of preserving food. This process not only extends the shelf life of fruits but also concentrates their flavors, making them an ideal, nutrient-dense snack. Whether you’re looking to create homemade dried fruit snacks or preserve the harvest of your favorite fruits, drying is a great option.
In this guide, we’ll cover the different methods of drying fruit, the best fruits to dry, tips for successful drying, and how to store dried fruits properly to maintain their quality.
Why Dry Fruit?
Drying fruit offers a multitude of benefits, including:
- Longer Shelf Life: Dried fruit can last for months, making it a perfect pantry staple.
- Nutrient Concentration: The drying process concentrates the flavors and nutrients of the fruit, giving you a more intense taste and preserving essential vitamins and minerals.
- Portability: Dried fruit is lightweight and compact, making it an excellent option for on-the-go snacking.
- No Preservatives: When you dry your own fruit, you avoid added sugars and preservatives often found in store-bought dried fruit.
While there are various methods to dry fruit, each has its own pros and cons. Let’s explore the most popular techniques.
1. How to Dry Fruit Using a Dehydrator
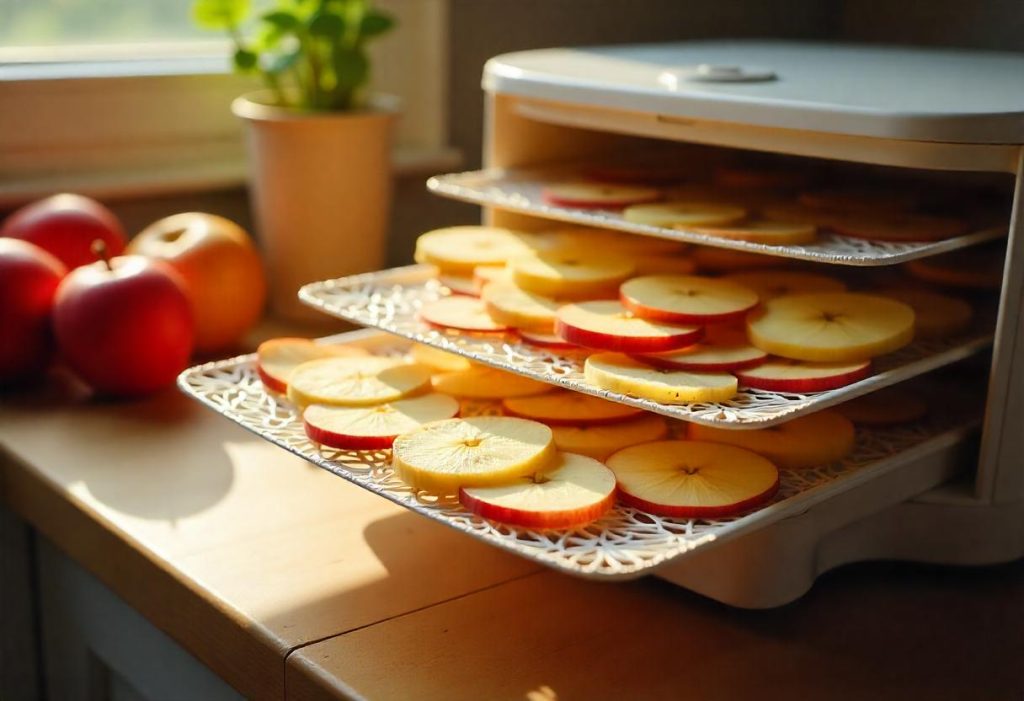
A food dehydrator is an electric appliance designed specifically to remove moisture from food. This method is one of the most efficient and consistent ways to dry fruit, allowing you to preserve the natural flavor and nutrients.
Step-by-Step Instructions:
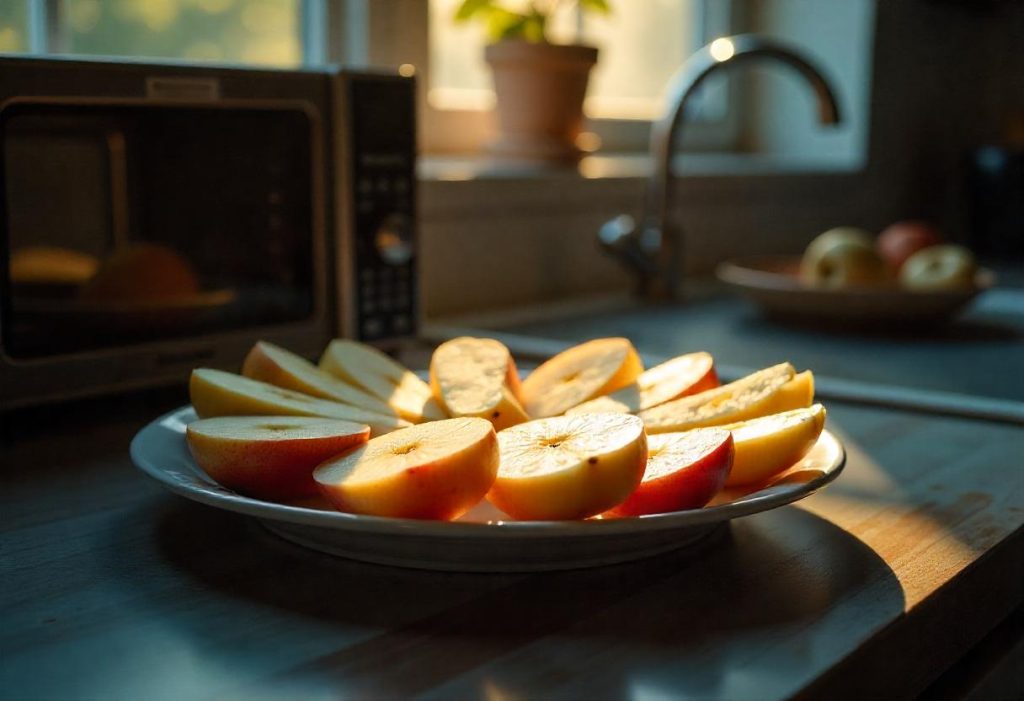
- Choose the Right Fruit: Some fruits are naturally more suited for drying, including apples, apricots, peaches, strawberries, and bananas.
- Prepare the Fruit: Wash the fruit thoroughly, peel (if necessary), and slice it into uniform pieces. Slices that are about 1/4-inch thick will dry evenly.
- Pre-Treat (Optional): Some fruits like apples and pears may oxidize (turn brown) during drying. To prevent this, you can dip them in a solution of lemon juice and water (1:1 ratio) before drying.
- Arrange the Fruit: Lay the fruit in a single layer on the dehydrator trays, leaving space between each piece for air circulation.
- Set the Dehydrator: Follow the manufacturer’s guidelines for drying temperature. Typically, fruits are dehydrated at around 135°F (57°C) for 6-12 hours, depending on the type of fruit and thickness of slices.
- Check for Doneness: The fruit is done when it is leathery and pliable but not sticky. Test a few pieces by letting them cool and checking if they feel dry to the touch.
- Cool and Store: Let the dried fruit cool completely before storing it in airtight containers.
For more tips and recommendations on dehydrating food, visit National Center for Home Food Preservation.
2. How to Dry Fruit Using an Oven
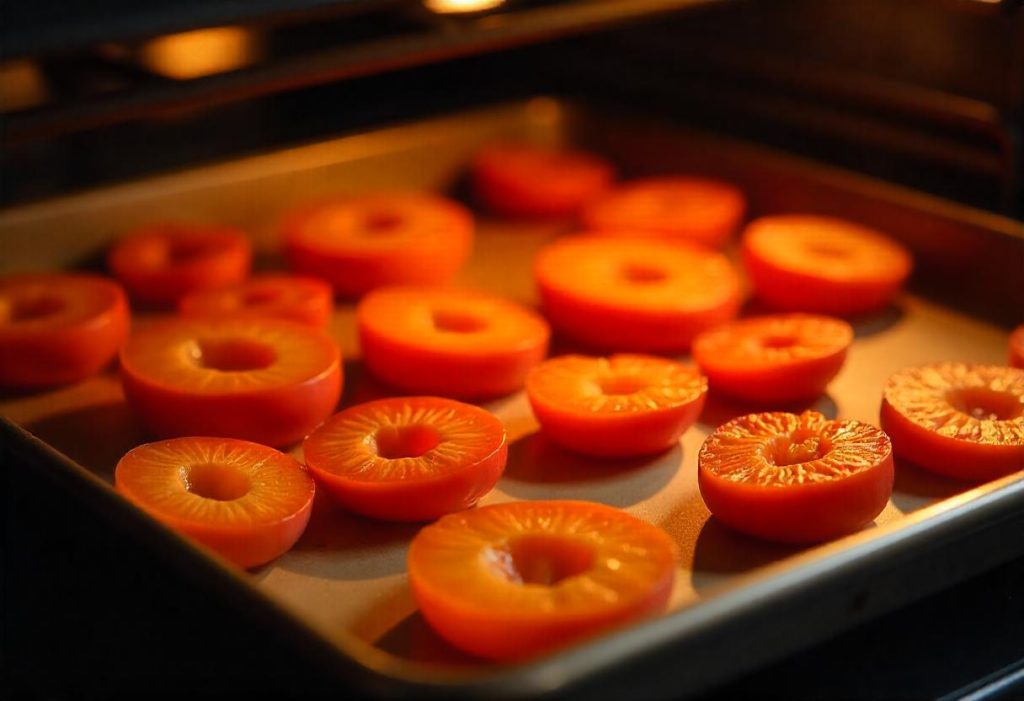
If you don’t have a food dehydrator, your oven can serve as a great alternative for drying fruit. While it takes longer than using a dehydrator, the process is still relatively straightforward.
Step-by-Step Instructions:
- Preheat the Oven: Set the oven to the lowest temperature, ideally between 140°F (60°C) and 170°F (77°C).
- Prepare the Fruit: Wash and slice the fruit into uniform pieces. As with the dehydrator method, dipping fruits like apples in lemon juice can prevent browning.
- Prepare the Baking Sheet: Line a baking sheet with parchment paper and arrange the fruit slices in a single layer.
- Dry the Fruit: Place the baking sheet in the oven and leave the door slightly ajar to allow moisture to escape. Dry the fruit for 4-8 hours, checking every hour for doneness. Turn the fruit occasionally to ensure even drying.
- Cool and Store: Allow the dried fruit to cool before storing it in airtight containers.
For more information about using an oven for drying fruit, you can check out The Spruce Eats.
3. How to Dry Fruit in the Sun (Sun-Drying Method)
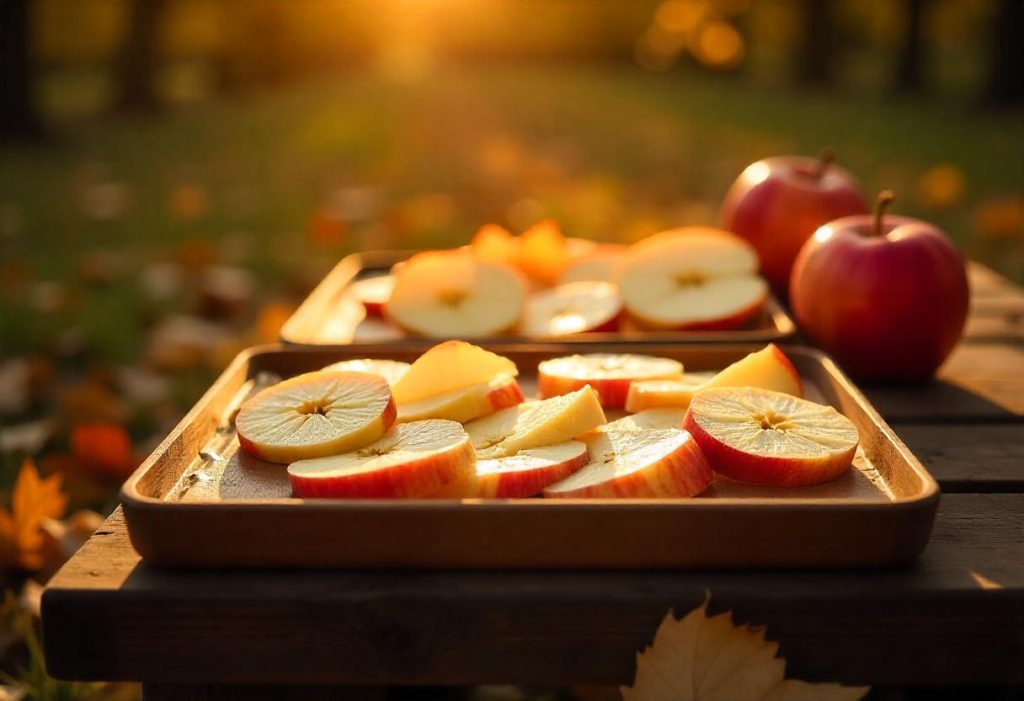
If you live in a hot, dry climate, sun-drying can be an effective and natural way to dry fruit. While it takes longer and is weather-dependent, this method doesn’t require any electricity and is a traditional way to preserve fruits.
Step-by-Step Instructions:
- Prepare the Fruit: Wash and slice the fruit. Remove pits or seeds from fruits like peaches or cherries. If the fruit is acidic, consider dipping it in a mixture of lemon juice and water to prevent browning.
- Prepare the Drying Area: Find a clean, flat surface that’s exposed to direct sunlight. You can use a large drying rack, screen, or tray for this purpose.
- Arrange the Fruit: Lay the fruit slices in a single layer, making sure there’s enough space between pieces for air circulation.
- Cover the Fruit: To protect the fruit from insects, cover it with cheesecloth or a mesh cover.
- Dry the Fruit: Leave the fruit in the sun for 2-3 days, depending on the weather conditions. Bring the fruit inside during the night to prevent moisture from accumulating.
- Check for Doneness: The fruit should feel dry and leathery but not sticky. It may take longer in areas with higher humidity.
- Cool and Store: Allow the fruit to cool completely before storing it in airtight containers.
For more about the pros and cons of sun-drying, refer to this guide from Farmers’ Almanac.
4. How to Dry Fruit Using the Microwave (Quick Method)
For a faster drying method, you can use a microwave. This method is best for small batches or when you need dried fruit in a hurry.
Step-by-Step Instructions:
- Prepare the Fruit: Wash and slice the fruit into thin, uniform pieces. This method works best with fruits like apples, pears, and apricots.
- Arrange the Fruit: Place the fruit slices on a microwave-safe plate lined with parchment paper. Arrange the pieces in a single layer.
- Microwave: Set the microwave to medium power and heat the fruit in 30-second intervals. After each interval, check the fruit and turn it to ensure even drying.
- Check for Doneness: The fruit should be dry but still pliable. Be careful not to over-dry, as the fruit can become too tough.
- Cool and Store: Let the dried fruit cool before storing it in airtight containers.
This is a great option for drying fruit quickly, but it may not produce the same texture as other methods. For more microwave drying tips, visit The Pioneer Woman.
Best Fruits for Drying
Some fruits dry better than others. Here’s a list of best fruits to dry:
- Apples: Sliced apples are a classic dried fruit. They maintain their flavor and texture well.
- Bananas: Banana chips are a popular snack, especially when dried.
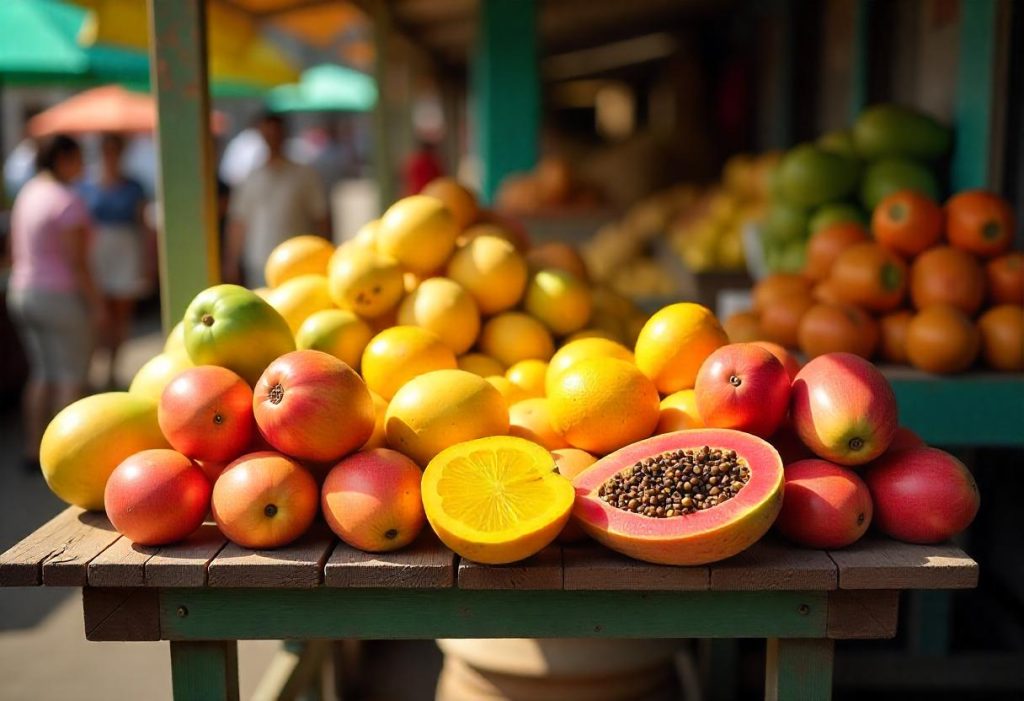
- Mangoes: Mangoes retain their sweet, tropical flavor when dried.
- Pineapples: Pineapples become incredibly sweet and tangy once dried.
- Strawberries: Dried strawberries maintain their vibrant color and taste.
- Peaches and Plums: Both fruits dry well and can be eaten as snacks or used in cooking.
How to Store Dried Fruit
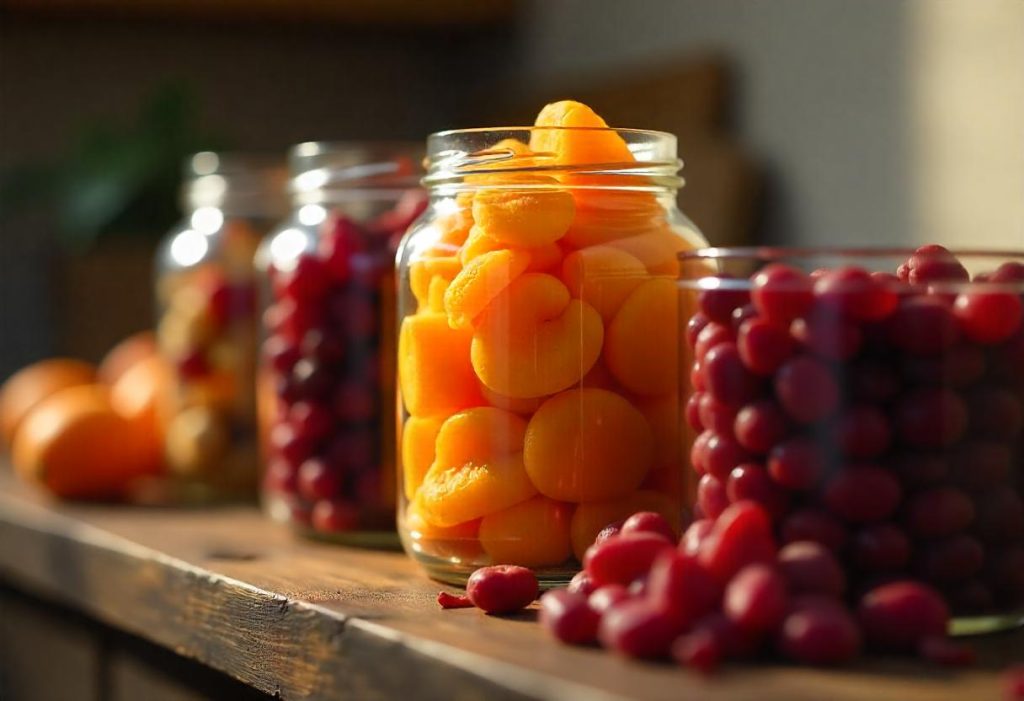
Proper storage is key to preserving the quality of dried fruit. Follow these tips:
- Cool Before Storing: Always allow dried fruit to cool before sealing it in containers.
- Airtight Containers: Store dried fruit in airtight containers, such as glass jars, vacuum-sealed bags, or Mylar bags.
- Keep in a Cool, Dark Place: Store the containers in a cool, dark place like a pantry or cupboard. Avoid storing them in humid areas or in direct sunlight.
- Rehydrating Dried Fruit: If you want to rehydrate dried fruit, simply soak it in water for 30 minutes to an hour, depending on the fruit.
For more information on how to store dried fruit for maximum freshness, check out this guide from Eat By Date.
How Drying Fruit Can Benefit You

Drying fruit is a great way to preserve your favorite fruits, create healthy snacks, and reduce food waste. Whether you use a dehydrator, oven, or sun-drying, the process of drying fruit is simple, cost-effective, and rewarding. Follow the tips in this guide, and you’ll be able to enjoy nutritious, homemade dried fruit year-round.